Ubuntu is a common Linux distribution which is used by folks who need a good desktop environment. Wi-Fi hotspot sometimes become a necessity; to share files or to use internet on some other device. This article discusses a way to create Wi-Fi hotspot in Ubuntu 20.04. It’s the latest distribution which was made available a couple of months ago on Ubuntu’s Website. This guide also works on the older versions of Ubuntu, such as 18.04 and 16.04. Follow these steps and within minutes you’d have a working hotspot in the famous linux distribution.
It’s worth mentioning that in order to convert your laptop or Wi-Fi dongle into a hotspot; make sure there is a working lan internet provided to your laptop. Further, the Wi-Fi of the laptop shouldn’t be in use.
Four Steps to Create Wi-Fi hotspot in Ubuntu 20.04:
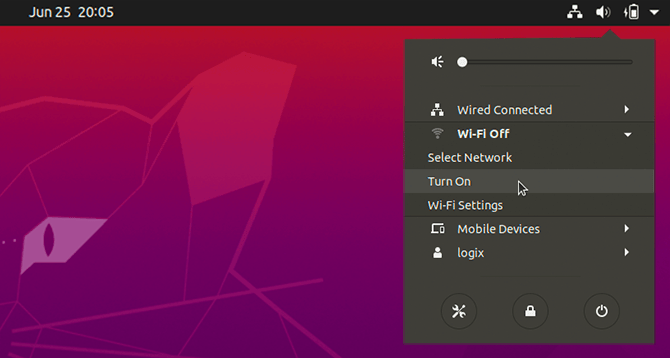
Luckily, in order to create Wi-Fi hotspot in Ubuntu like linux distribution; there is a fair process available. Any person who knows how to use a mouse can create hotspot. You need to click on the Network/Wi-Fi icon present in the top right corner of the task bar.
Follow these steps to create the Wi-Fi hotspot.
- First of all Turn On your Wi-Fi from the drop-down as shown in the image above.
- Click on the Wi-Fi Settings after you’ve turned on your Wi-Fi. The button is in the same System Menu.
- Select Wi-Fi from the left menu, click Menu Button (one with three horizontal lines near the switch button) present in the upper right corner of this new window.
- Click Turn on Wi-Fi Hotspot through the options menu.
This would automatically create a Wi-Fi hotspot in Ubuntu. Unlike Windows; Ubuntu created hotspot with a default name and its own selected password. You can change those settings like Wi-Fi name or password in Ubuntu. In order to change these settings you’d need to edit the Hotspot Configuration File in Ubuntu.


